- Top Page >
- Using Internet >
- Viewing Photomap
Viewing Photomap
Overview
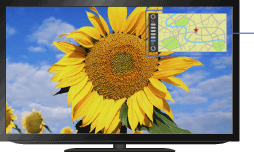
You can display a photo with a map of the location where the photo was taken. Connect a USB device containing a photo with geographical information.
Steps
Make a broadband Internet connection.
Press the HOME button, then select
 [Media] at the bottom of the screen using the
  /
/ buttons.
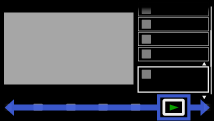
Select [Photos] using the
 /
/ buttons, then press the
  button.
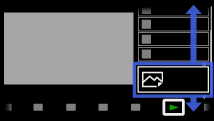
Select the USB device containing the photo file using the
/ buttons, then press the button.Select the folder or file from the list using the
/ buttons, then press the button.
If you select a folder, select the file using the/ buttons, then press the button.
The photo is displayed.
To return to the last viewed source, press the HOME button twice.
To zoom in/out the map
Press the ![]() /
/![]() buttons.
buttons.
To change the display position of the map
Press the far left colour button repeatedly.
Notes
- Only a large-scale map that cannot be zoomed in or out is displayed if the TV is not connected to the Internet or the online map service is terminated.
- The position indicated on the map may differ depending on the image capture device.
- The Internet online map service is provided by a third party. For this reason, service may be changed or terminated without prior notification.
