Click [Channels] tab.
The Channels window appears.
Click a channel category, [Premium], [Genre], [SensMe™], or [Era] in the Channels window.
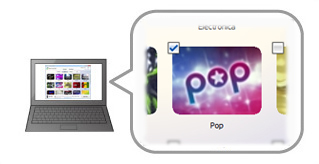
Click a check box to add a check mark to the desired channel.
Check marks appear on channels that have already been transferred.
When you add/remove check marks to/from channels, the status of the size calculation bar changes according to the size of the data that will be transferred.
Click [Start Sync].
Transferring songs to your “WALKMAN” starts.
 Hints
Hints
For details on the Channels window, see “Channels window.”
Click
 to see “Channel Info.” You can check information on the selected
channel.
to see “Channel Info.” You can check information on the selected
channel.If you format your “WALKMAN,” music data transferred by Music Unlimited Transfer will be deleted from your “WALKMAN.” To re-synchronize channels with your “WALKMAN,” see “Re-synchronizing channels or playlists after you format your “WALKMAN”.”
 Notes
Notes
Channel transfer will take several minutes per channel. It may be longer depending on your network connection.
Make sure not to disconnect your “WALKMAN” from your computer during synchronization.
The size calculation bar shows an approximate calculation of data sizes, therefore, the size shown may be different from the actual sizes.
If you want to update a channel manually, you must delete the channel from your “WALKMAN” first. For details, see “Re-synchronizing channels manually.”