Setting your PC as a DLNA server and controller (Windows 7)
A Windows 7 PC can be used as both DLNA server and controller.
By operating from a Windows 7 PC and DLNA controller on your home network, you can enjoy music stored in a DLNA server (including a Windows 7 PC) on your home network with the home audio system if you set the following.
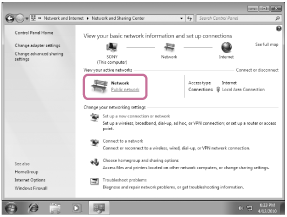
- Go to [Start]-[Control Panel], then select [Network and Sharing Center].
The [Network and Sharing Center] screen appears.
If the desired item does not appear in the display, try changing the Control Panel display type.
- Select [Public network] under [View your active networks].
If the display shows other than [Public network], go to step 5.

The [Set Network Location] screen appears.
- Select [Home network] or [Work network] according to the environment in which the home audio system is used.
- Follow the instructions that appear on the display according to the environment in which the home audio system is used.
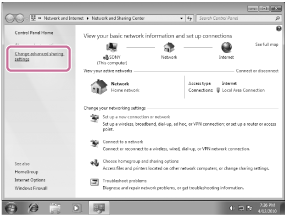
When the setting is completed, in the [Network and Sharing Center] screen, confirm that the item under [View your active networks] has changed to [Home network] or [Work network].
- Select [Change advanced sharing settings].

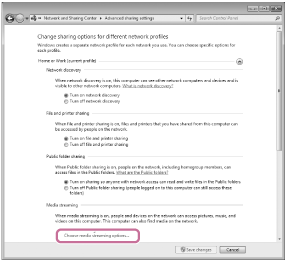
- Select [Choose media streaming options…] from [Media streaming].

- If [Media streaming is not turned on] appears in the [Media streaming options] screen, select [Turn on media streaming].
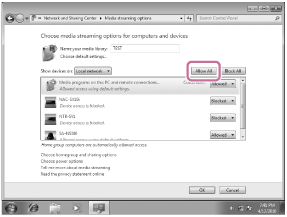
- Select [Allow All].

The [Allow All Media Devices] screen appears. If all the devices in the local network are allowed ([Allow]) to access your network, select [OK] and close the screen.
- Select [Allow all computers and media devices].
- Select [OK] to close the screen.


