

Performing acoustic auto calibration
To close this screen and jump to the Settings screen, select the following link.
![]() Jump to the Settings screen
Jump to the Settings screen
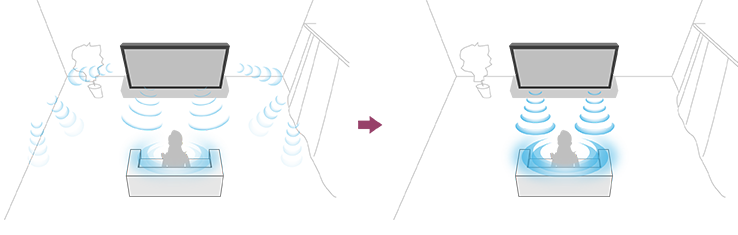
You can correct the audio to the best acoustics for your viewing environment by using the Voice Remote Control microphone to measure a test sound from the TV. (This setting may not be available depending on the model.)
Note
- Calibration effects will vary depending on your watching environment.
- A loud test sound will be played from the TV during measurement.
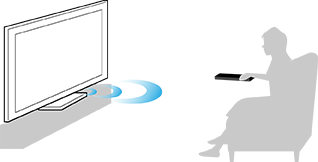
- Do not block the microphone opening at the end of the Voice Remote Control during measurement.
- Do not move the Voice Remote Control during measurement. Doing so may result in incorrect measurement.
- Perform the calibration when your surroundings are quiet. Noise may result in incorrect measurement.
- Acoustic auto calibration cannot be performed if you are using a sound bar. Change the following setting.
[Settings] — [Display & Sound] — [Audio output] — [Speakers] — [TV speakers]
Models that support acoustic auto calibration have the following setting.
- Press the
 (Quick Settings) button on the Voice Remote Control, then select the following settings.
[Settings] — [Display & Sound] — [Ambient Optimization Pro] — [Acoustic auto calibration] — [Calibration setup]
- Measure by following the on-screen instructions.
The acoustics will be corrected automatically based on the measurement results of your watching environment.
Hint
Acoustic auto calibration may fail in the following cases.
- If the Voice Remote Control is moved during measurement
- If there are sounds other than the test sound (such as noise) during measurement