

Connecting the Live-View Remote to One Camera
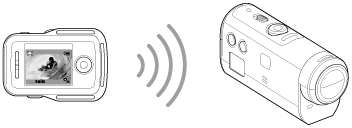
You can easily operate all the functions of the camera by connecting one camera to the remote control through Wi-Fi.
- Turn on the power of the camera
- Press the Wi-Fi button of the camera to set the setting of the camera to
 (Single connection)
 - Turn on the remote control
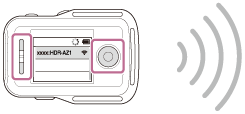
- The Wi-Fi device selection screen is displayed on the LCD screen of the remote control. Select the SSID of the camera you want to connect with the UP button or DOWN button and press the REC/ENTER button.
- Check that Wi-Fi of the camera is set to the single connection when SSID is not displayed.
- SSID is indicated on the sticker attached to the back side of the battery pack cover of the camera.
- Press and hold the Wi-Fi button of the camera when you hear the camera beep
- The camera and remote control enter the waiting state for Wi-Fi certification. When you hear a beep sound at a long interval, press and hold the Wi-Fi button. The beep sounds at a short interval, and then connection is completed.
- The display on the LCD screen of the remote control switches to the Live-View display and the REC/Wi-Fi lamp of the remote control lights up in blue.
Note
- [DIRECT-] is omitted from the camera SSID text string when it is displayed on the LCD screen of the remote control.
- You cannot copy images recorded in the camera to the remote control.
- The camera should only be connected to a smartphone or the remote control via Wi-Fi and not to other Wi-Fi access points. If you choose to connect the camera to other Wi-Fi access points, then you will do so at your own risk. The camera may be subject to unauthorized access and any content communicated may be at risk of interception.