Using Snapshots
A snapshot is a function that captures the content shown in the content area as an image.
A captured snapshot can be displayed as content in Vision Exchange and used as content for a session.
Snapshot images can also be saved to a USB flash drive when a session is closed.
To capture a snapshot
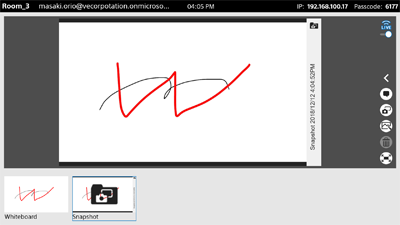
Press ![]() on the main toolbar to capture a snapshot.
on the main toolbar to capture a snapshot.
After capturing a snapshot, the Snapshot folder appears in the thumbnail area. If more than one snapshot is captured, all the snapshots are stored in the Snapshot folder.
To select a snapshot for display in the content area
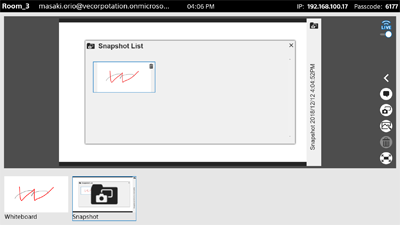
Display a snapshot in the content area and press ![]() on the top right to display the [Snapshot List]. Press the snapshot you want to display in the content area.
on the top right to display the [Snapshot List]. Press the snapshot you want to display in the content area.
To delete a snapshot
In the [Snapshot List], press ![]() on the top right of the snapshot you want to delete.
on the top right of the snapshot you want to delete.
To save a snapshot
To save to USB flash drive
Connect a USB flash drive to the main unit or a Pod beforehand.
Place a check mark in [Save Snapshot] in the dialog box displayed when ![]() or
or ![]() is pressed to save the snapshot images captured during the session on the USB flash drive.
is pressed to save the snapshot images captured during the session on the USB flash drive.
Note
- Snapshots captured on the main unit and each Pod can be saved only on the device on which they were captured. For example, snapshots captured on the main unit can be saved on the main unit, but snapshots captured on a Pod cannot be saved on the main unit. To save all snapshots captured during a session, always save the snapshots on the main unit and all the Pods that participated in the session.