Attaching/removing a lens
Turn off the camera before attaching or removing the lens.
- Remove the body cap (A) from the camera and the rear lens cap (B) from the rear of the lens.

- It is recommended that you attach the front lens cap when you have done shooting.
- Mount the lens by aligning the two white index marks (mounting indexes) on the lens and camera.
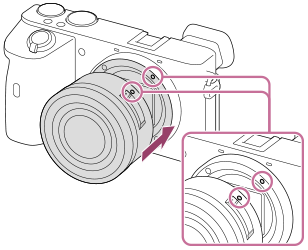
- Hold the camera with the lens mount facing down to prevent dust and debris from entering the camera.
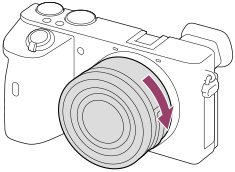
- While pushing the lens lightly toward the camera, turn the lens slowly in the direction of the arrow until it clicks into the locked position.
- Be sure to hold the lens straight when attaching it.
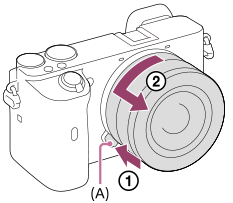
To remove the lens
Keep pressing the lens release button (A) and turn the lens in the direction of the arrow until it stops.
After removing the lens, attach the body cap to the camera and the lens caps to the front and rear of the lens to prevent dust and debris from entering the camera and lens.
Note
- When attaching/removing the lens, work quickly in a dust-free location.
- Do not press the lens release button when attaching a lens.
- Do not use force when attaching a lens.
- A Mount Adaptor (sold separately) is required to use an A-mount lens (sold separately). When using the Mount Adaptor, refer to the operating manual supplied with the Mount Adaptor.
- When you use a lens with a tripod socket, attach a tripod to the tripod socket of the lens to help balance the weight of the lens.
- When carrying the camera with a lens attached, hold both the camera and the lens firmly.
- Do not hold the part of the lens that is extended for zoom or focus adjustment.