-
Click the [+] button in the Receiver area of the Live screen.
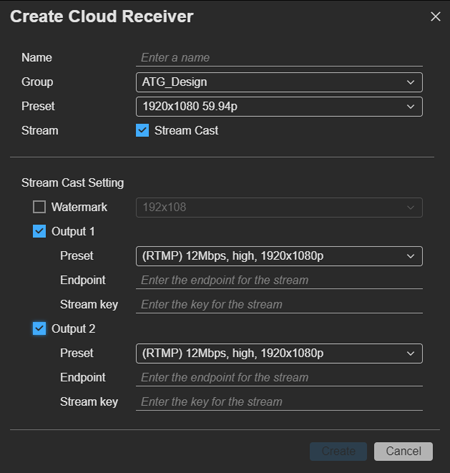
The dialog for creating a cloud receiver appears.
-
Specify [Name] and [Group].
-
Specify [Preset].
[Preset] determines the type of cloud receiver. Depending on this setting, the values of [Preset] for [Output] in [Stream Cast Setting] that can be selected will vary. Also, the format of the asset that is created will vary depending on the cloud receiver.
-
To cast to an SNS or other output destination, place a check mark in [Stream Cast]. To record a stream without casting, clear the check mark.
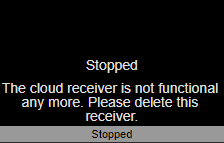
A cloud receiver that is created without a check mark in [Stream Cast] can be used to save a stream in system configurations that do not have a PWS-100RX1/110RX1/110RX1A. For details, see “To save a stream to a file in a system configuration that does not use an PWS-100RX1/110RX1/110RX1A.”
-
If you placed a check mark in [Stream Cast], configure the settings for streaming to an SNS or other output destination.
- Watermark: To display a watermark on the streamed video, select a preconfigured watermark. Watermarks are configured using [Resource] > [Watermark Preset] on the Settings screen.
- Output 1/Output 2: Place a check mark beside each output to use for streaming, and configure the output format, endpoint, and stream key.
- Preset: Select a streaming preset.
- Endpoint: Specify the endpoint.
- Stream Key: Specify the stream key. This setting may be disabled, depending on the system.
-
Click the [Create] button.
A cloud receiver is created in the Receiver area.