


Recording
Record using the connected microphone or the smartphone’s built-in microphone.
-
Set up the microphone.
-
Change the recording settings.
-
Launch the “Spatial Audio Video Tool” app.
Follow the on-screen instructions.
-
Use the ATT switch to change the attenuator setting while monitoring the peak level meter.
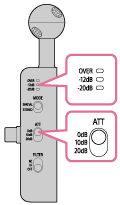
If the “OVER” indicator light is on, distortion may occur. Set the ATT switch to “10dB” or “20dB.”
Hint
- Set the ATT switch to a setting where the peak level remains around -12 dB on the level meter.
-
Tap the recording start button (A) on the recording screen on the app.
 : Recording start button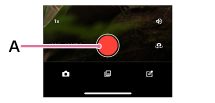
Recording starts.
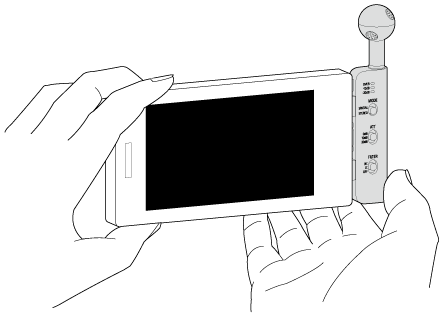
- When the microphone is connected directly to the smartphone, hold the smartphone by supporting the bottom of the smartphone with both hands, taking care not to touch the microphone.
- To stop recording, tap the recording stop button.
: Recording stop button
- When the microphone is connected directly to the smartphone, hold the smartphone by supporting the bottom of the smartphone with both hands, taking care not to touch the microphone.
Hint
- You can change the setting of the ATT and FILTER switches even while recording.
- We recommend doing a test recording before recording or recording while monitoring the audio. See “Listening to the sound being recorded (monitoring recording).”
- The recording level also can be checked on the recording screen on the app.
Note
- If you do any of the following while recording, background noise may be recorded.
- Using the switch
- Touching or rubbing your hand against the microphone or headphone cable
- Recording will stop if you use the phone function on the smartphone to which the microphone is connected. While using the microphone, we recommend setting the smartphone to airplane mode.
TP1002508807