Installing the Projector
The installation distance between the projector and a screen varies depending on the screen size (projection size) and whether or not you use the lens shift feature. Install the projector according to the screen size.
-
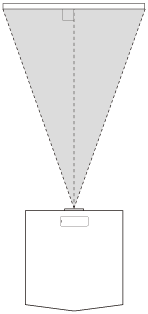
Position the unit so that the lens is parallel to the screen.
-
After connecting the AC power cord to the unit, plug the AC power cord into a wall outlet.
The POWER indicator lights in red.

-
Turn on the unit.
Press the
 /
/
 (Power) button.
The POWER indicator flashes in green, then it lights in green.

-
Project an image on the screen to adjust the image position so that it fits the screen.
Note
- If using a screen with an uneven surface, stripe patterns may rarely appear on the screen depending on the distance between the projector and screen and/or the zoom magnification. This does not indicate a malfunction.
- The indicator name and appearance may differ from the name and appearance of the indicator on the projector depending on your sales region, model, time of purchase, etc.