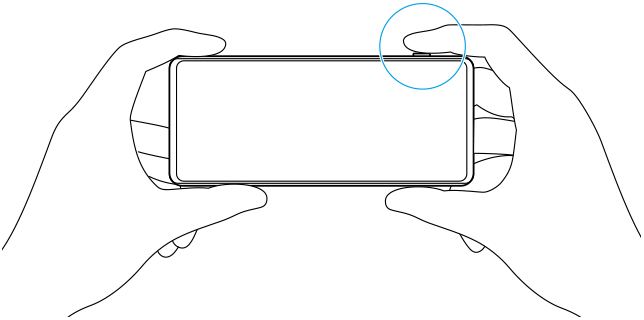
Taking a photo using Photo Pro
- Launch Photo Pro.
- Find and tap
 (Photo Pro icon).
 - Press the camera key fully down. While using the Camera app, tap
 (Settings icon) > [Launch with camera key] > [Launch Photography Pro] to enable this function.
 - While using the Camera app, tap [Mode] >
 (Photo Pro icon).
- Find and tap
- Select a shooting mode.
- AUTO (Auto mode): Settings values are determined appropriately by Photo Pro so that you can take photos of any subject under any conditions with good results.
- P (Program auto): You can take photos with an automatically adjusted combination of shutter speed and ISO value.
- S (Shutter speed priority): You can take photos of fast-moving subjects, etc. with a manually adjusted shutter speed. (The ISO value is adjusted automatically.)
- M (Manual exposure): You can take photos with the desired shutter speed and ISO value.
- MR (Memory recall): You can register often-used modes or settings in advance and recall them when taking photos. Select [MR], and then tap [Set] to apply the settings displayed under [Recall camera settings].
- Adjust the settings.
- Press the camera key halfway down to focus.

- Press the camera key fully down.
Note
- There is no shutter button on the Photo Pro standby screen. Use the camera key on your device.
To register often-used combinations of modes and settings in the MR (Memory recall) mode
- While using Photo Pro, adjust the settings.
- Tap [MENU] > [Shooting] > [Camera settings memory].
- Confirm the settings, and then tap [Save].
To change the settings, tap [Cancel], and then repeat the procedure starting from Step 1.
Hint
- To change the registered settings, repeat the procedure starting from Step 1.

