Connecting to a Camera via the Remote Shooting Function
Note
- To connect with a camera using the remote shooting function on a smartphone with a Lightning connector, use a USB-C to Lightning adapter.
The supported adapter is listed in the “Supported Mobile Devices and Peripheral Devices” topic. - When connected using the remote shooting function, clip transfer will fail if the time on the camera and the time on the smartphone are not synchronized. If the transfer does not start, check that the time zone and time are set correctly on the camera and smartphone.
- If there are clips captured in multiple time zones on the camera, remote shooting transfer may not work properly. If you want to change the time zone, make sure that you do not end up with clips shot in multiple time zones on the same media.
-
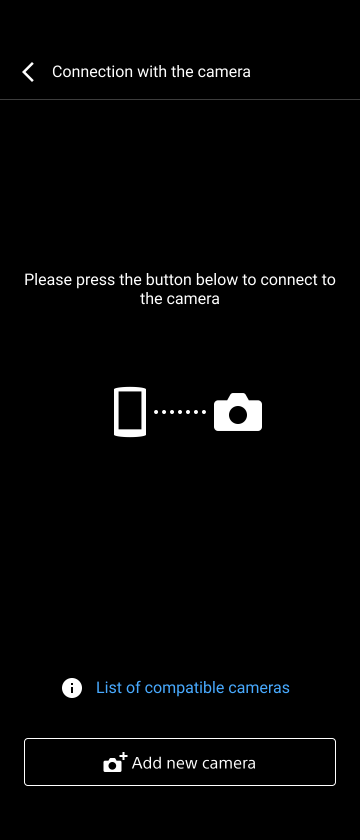
Tap the [Camera] button on the Home screen.The [Connection with the camera] screen appears.
-
Tap [Add new camera].
Hint
- You can also connect by selecting a camera from [Preset connection history]. Cameras that were previously connected using a QR code, Bluetooth, or the remote shooting function are displayed in [Preset connection history].
-
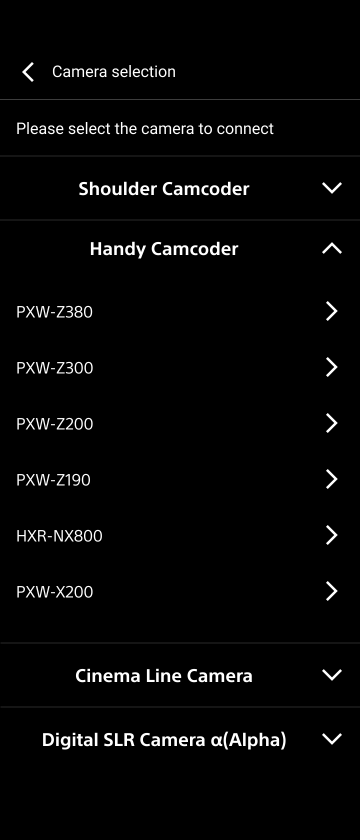
Tap the model name of a camera you want to connect in the list.
-
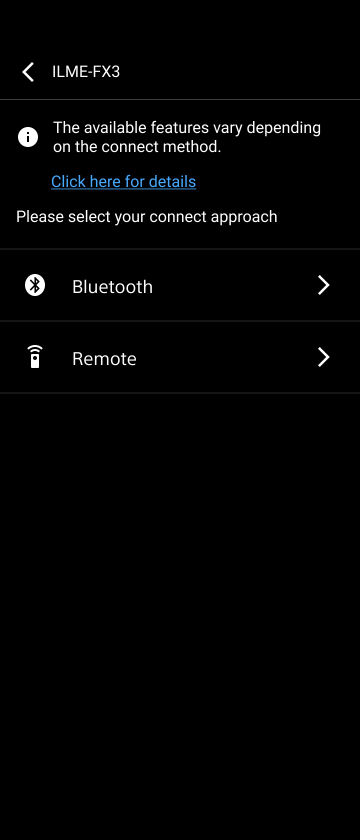
Select [Remote] as the camera connection method.
-
Configure file transfer settings and tap [Next].
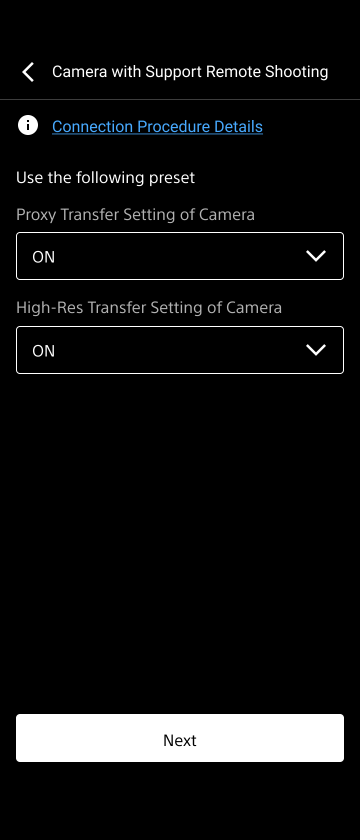
Hint
- When a clip of the type selected here is being shot, the clip will be automatically transferred from the connected camera to this app.
- You can also change the settings on this screen from [Preset connection history] later.
-
Set the USB connection mode of the camera to remote shooting mode.For details about setting the USB connection mode, refer to the operating instructions of the camera.
-
Connect the camera and smartphone using a USB cable.Connection between this app and the camera is initiated. After the Home screen appears when the connection is completed, check that the information for the connected camera is displayed.
TP1001752530