Replacing the cartridge
Multiple cartridges can be used for different purposes. When replacing a cartridge with a different one or if a cartridge reaches the maximum number of uses, replace the cartridge according to the following procedure.
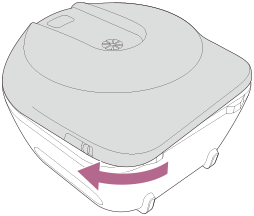
- Lay the unit down and remove the front cover.
Slide the front cover OPEN lever, turn the front cover slightly in the counterclockwise direction, and remove the front cover.
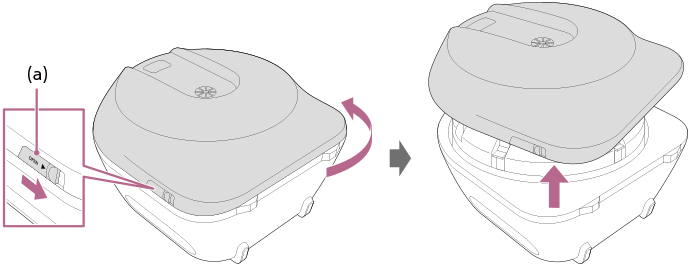
(a) Front cover OPEN lever
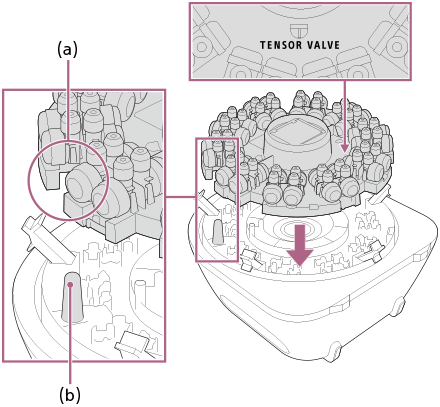
- Remove the cartridge cover.
Open the 5 buckles fastening the cartridge cover to remove it.
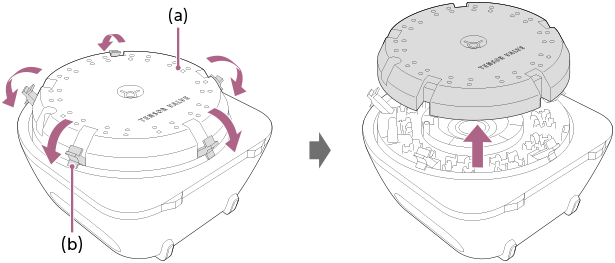
(a) Cartridge cover
(b) Buckle
- Remove the cartridge.
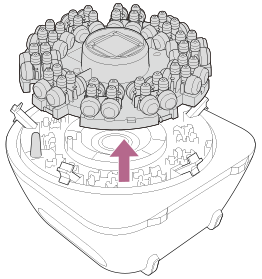
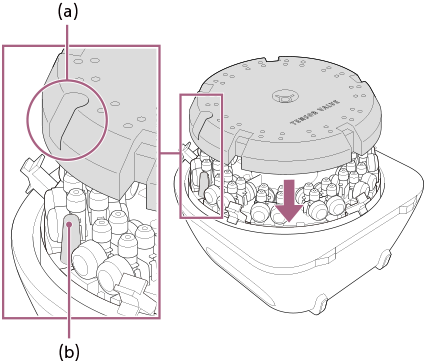
- Install the new cartridge.
Align the cartridge notch with the protrusion and install the cartridge so that the “TENSOR VALVE” logo appears upright when the underside of the unit is in front of you.
(a) Notch
(b) Protrusion
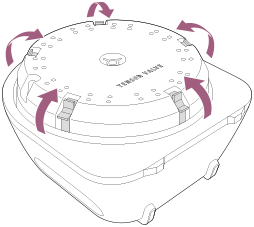
- Attach the cartridge cover.
With the “TENSOR VALVE” logo appearing upright when the underside of the unit is in front of you, attach the cartridge cover so that the protrusion passes through the opening and fasten the 5 buckles.
(a) Opening
(b) Protrusion
Firmly close the buckles. If the front cover is attached without firmly closing the buckles, the cartridge cover may be damaged.
- Attach the front cover.
Turn the front cover clockwise until it clicks to attach it.