Switching the Screen
This topic describes the structure of the app screen and how to switch between screens.
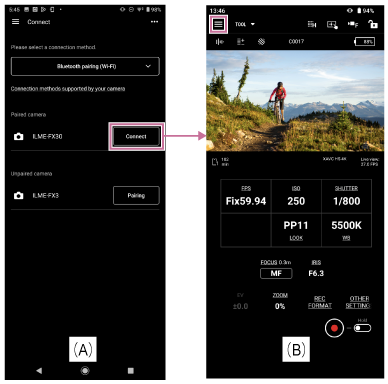
Tap [Connect] for a camera that you want to connect on the [Connect] screen (A) to display the [Monitoring] screen (B) for monitoring the camera image and controlling camera functions remotely.
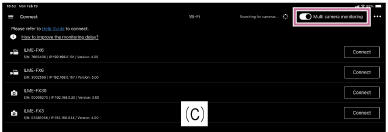
If using an iPad, setting the toggle button on the [Connect] screen (C) to the on position enables multi-camera monitoring.
 (App menu)
Selecting any of the following items from the menu on the [Monitoring] screen displays the screen for the corresponding item.
- [Connect]: Displays the camera connection screen (A).
- [Monitoring]: Displays the [Monitoring] screen (B).
- [Clips]: Displays the [Clips] screen for displaying and controlling playback of camera clips and for importing/transferring clips.

- [Job list]: Displays a screen for checking the import/transfer status of clips.
- [Settings/Support]: Displays the screen for configuring app settings.
- [Feedback]: Displays an external site for giving feedback about this app.
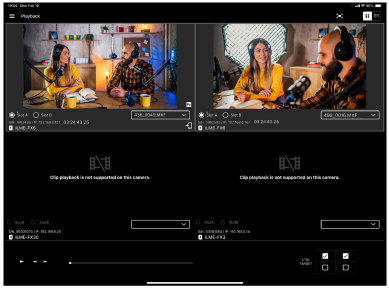
- [Playback]: Displayed in the menu only when multi-camera monitoring is enabled. Displays a screen that enables you to monitor clips from multiple cameras simultaneously.
- [Import]: Displayed in the menu only when multi-camera monitoring is enabled. Displays a screen that enables you to import clips from multiple cameras simultaneously.
TP1001690988