Creating Highlights Automatically (when using Professional ID)
Note
- A separate A2 Production subscription is required for auto highlight creation. Also, the output destination with [ID] of 1 must be configured on the [Output] tab of the [System Settings] screen beforehand and the sending of video for auto highlight creation must be started. The [Highlight] button on the [Live Operation] screen becomes enabled when auto highlight creation operation is ready.
-
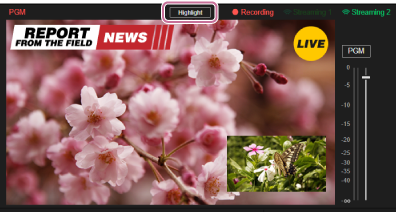
Press the [Highlight] button on the [Live Operation] screen.
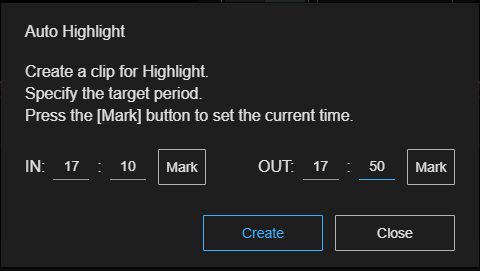
The [Auto Highlight] dialog appears.
Hint
- Highlights can be created until the event stops, even if sending video for highlight creation is stopped.
-
Set the period for extracting highlights.
Hint
- Highlight scenes are extracted from the video between the IN point and OUT point configured here based on the analysis rule selected beforehand.
- Set times (hh:mm format) for the IN point and OUT point values. The current time is set when you press the [Mark] button for an IN point or OUT point. You can also specify previous times or the current time for IN points and OUT points.
- Highlights can be created until the event stops, even after sending video for highlight creation is stopped.
-
Press the [Create] button.
The dialog closes and highlight file creation starts from the video in the specified range.
During highlight file creation,
 (creating) is displayed on the right side of the [Highlight] button. When highlight file creation is finished, it changes to
  (finished).
If highlight file creation fails or the target video for highlight is not available,
 (failed) is displayed.
Hint
- To set an IN point and OUT point only and perform highlight creation at a later time, press the [Close] button. The IN point and OUT point settings are saved and the dialog closes.
Created highlight files
Files are saved automatically with a file name in the following format.
HLT_"Event Name"_YYYYMMDDhhmmss (creation start date and time).mp4
Hint
- The creation start date and time uses universal standard time (UTC).
Extracted highlight scenes are displayed on the [Clip] tab of the [File Manager] screen and can be assigned to a clip player.
Hint
- Created highlight files are not displayed on the [Clip player] tab until the [Live Operation] has been updated. Update the [Live Operation] screen, as required. Note that highlight files that are currently being created or being written to a server are not displayed on the [Clip player] tab.