Structure of the Camera Browser Screen
Tap ![]() (Browser) in the launcher bar to display the [Camera Browser] screen.
(Browser) in the launcher bar to display the [Camera Browser] screen.
You can use the [Camera Browser] screen to check, play, and transfer clips in the camera connected with this app.
Note
-
 (Browser) in the launcher bar is enabled only when a camera and this app are connected using a QR code. To use the camera browser function, connect the camera and this app using a QR code beforehand.
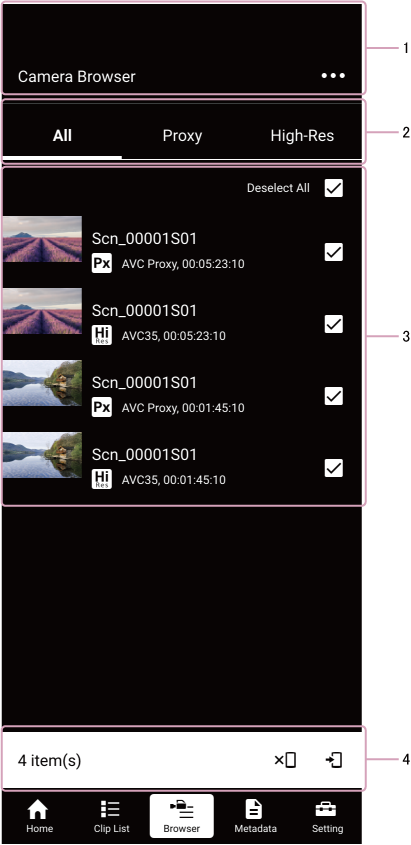
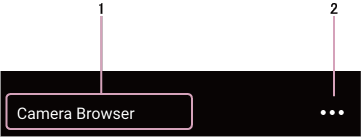
1. Header area
-
Screen name display
Displays the name of the screen. “Camera Browser” (fixed) is displayed. -
 (Options)
Displays the options menu.
2. Filtering area
You can switch tabs to filter the type of clips to display in the clip information display area. If the connected camera has slots for multiple recording media, radio buttons for selecting a slot are displayed on the [Proxy] tab and [High-Res] tab.
3. Clip information display area

-
Thumbnail view
Displays clip thumbnails. A progress bar indicating the transfer status is also displayed below each thumbnail. -
Selection button
Tap to select clip. To select all clips, place a check mark in [Select All]. -
Clip name
Displays the name of the clip. -
Status display
Displays the clip type, codec, and duration.-
 (High-Res): Indicates that the clip is a high-resolution file.
 -
 (Proxy): Indicates that the clip is a proxy file.
-
4. Action bar
When a clip is selected, displays icons for controlling clip operations. Icons for operations that cannot be executed are disabled.
-
 (Start transfer): Start transfer of a clip from the camera to this app manually. If another clip is currently being transferred, the transfer will start when the current transfer finishes.
 -
 (Stop transfer): Stop transfer of a clip from the camera to this app.