Connecting to a Camera (models that support remote shooting function)
Note
- To connect with a camera using the remote shooting function on a smartphone with a Lightning connector, use a USB-C to Lightning adapter.
The supported adapter is listed in the “Verified Devices” topic.
-
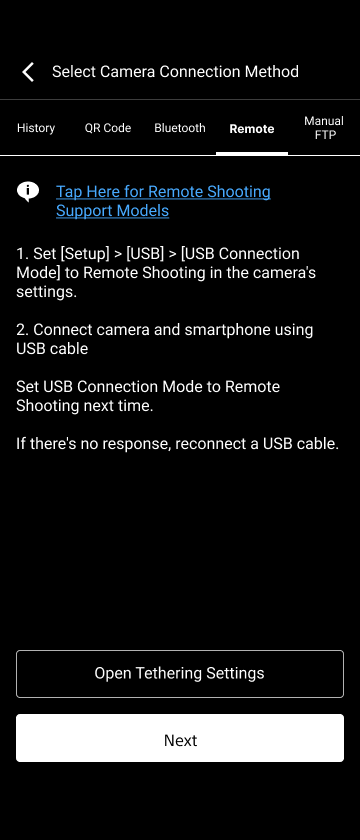
Tap the [Camera] button on the Home screen.The [Select Camera Connection Method] screen appears.
-
Tap the [Remote] tab.
Models that have been previously connected via QR code, Bluetooth, or remote shooting function are displayed on the [History] tab on the [Select Camera Connection Method] screen. If the camera to which you want to connect is displayed, select the camera information field and tap [Connect] to initiate the connection.
-
Set the USB connection mode of the camera to remote shooting mode.For details about setting the USB connection mode, refer to the operating instructions of the camera.
-
Connect the camera and smartphone using a USB cable.Connection between this app and the camera is initiated.
-
Configure the transfer settings for the camera, and tap [OK] in this app.Connection between this app and the camera is initiated. After the Home screen appears when the connection is completed, check that the information for the connected camera is displayed.
Note
- The camera transfer settings are applied only if [Automatically apply the following settings when connecting to a new camera] is set to the off position on the [Settings] > [Camera Settings] screen. This step is skipped if [Automatically apply the following settings when connecting to a new camera] is set to the on position.