Setting up menu items
You can change various settings or make detailed adjustments using the menu items displayed on the LCD monitor.
The camcorder has various menu items under each of 8 menu categories.
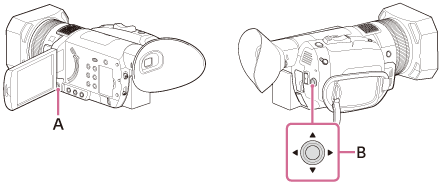
A: MENU button
B:  /
/ /
/ /
/ /SET button
- Press the MENU button.
- The menu screen appears.
- Use the////SET button to select the desired menu
icon, then press the button.
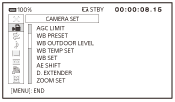
 (CAMERA SET) (appears when shooting)
 (REC/OUT SET)
 (AUDIO SET)
 (DISPLAY SET)
 (TC/UB SET)
 (NETWORK SET)
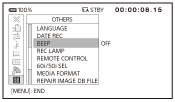
 (OTHERS)
 (EDIT)
- The (EDIT) menu appears when pressing the MENU button on the thumbnail or playback screen.
- The
- Use the////SET button to select the item that you want to set, then press the button.
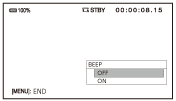
- Use the////SET button to select the desired setting,
then press the button.
- Press the MENU button to turn the menu screen off.
- To return to the previous screen, select [
 RETURN].
- To return to the previous screen, select [
Note
- The available menu items vary depending on the state of the camcorder during recording or playback.
- The available menu items vary depending on the shooting mode (Movie mode/Photo mode).
- Items and setting values that are not available due to other settings are grayed out.
Hint
- You can assign the function of the MENU button to the ASSIGN button.