Creating a Project
You can create a project in a workspace that you own. The users who have been invited to the workspace can be added to the project.
Hint
- An experiment will be imported into the project.
- Display the [File] tab, then click [Information] – [Workspace and Project Information].
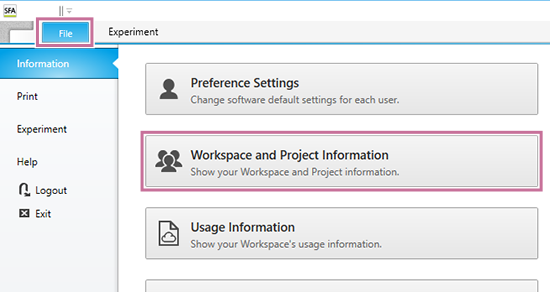
The [Workspace and Project Information] dialog appears.
- Set each item.
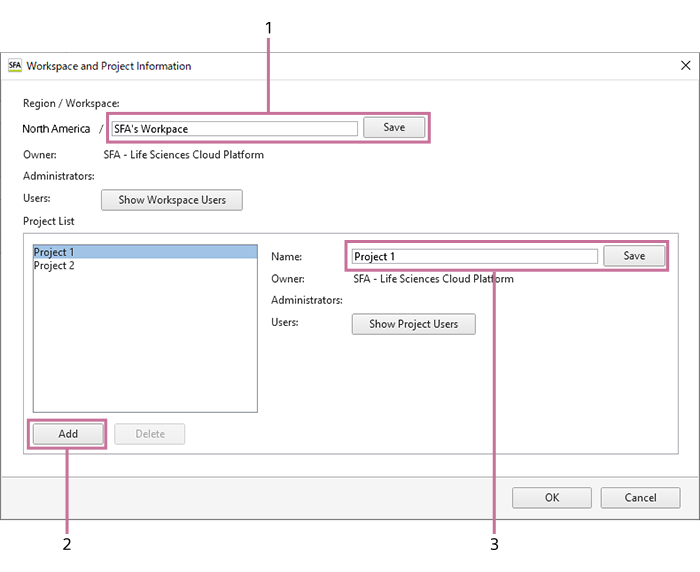
- Check the workspace in which to create the project in [Region / Workspace].
- Select [Add] in [Project List].
“New Project” is added to the list.
- Enter a name for the project in [Name], then click [Save].
- To add a user to the project, click [Show Project Users].
The [Show Project Users] dialog appears.
- Click [Add Users].
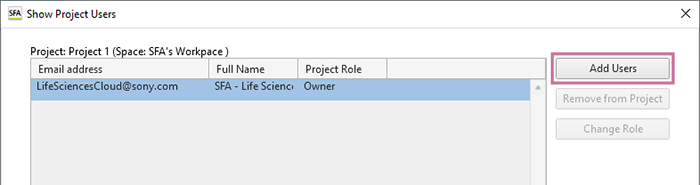
The [Add Project User] dialog appears.
- Select the user you want to add, then click [Add].
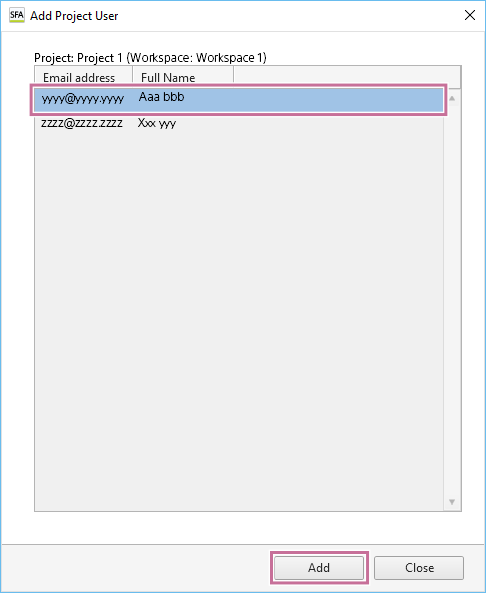
The added user is displayed in the list of users in the [Show Project Users] dialog.
- To add a user to the project, you need to add the user to the workspace in advance. For details about the setting procedure, see “Adding Users to a Workspace.”
- Click [Close] to close the dialog.
Hint
- You can change the role of a user, as required. For details, see “[Change Project Role] Dialog.”
- Click [Add Users].
- Click [OK] in the [Workspace and Project Information] dialog.